I can't believe it has been a whole week since I last posted! Time sure flies when you are
having fun! Even though it is really hard work, I am having a blast working with my dad on my kitchen makeover.
I spent last week patching walls and getting things ready for the floor
to go down. My Hubby also put up my new light fixture (electrical work makes me a little nervous). What a
difference! I'll actually be able to see my food when I cook, now. With the old light, it
is truly a miracle I've never given my family food poisoning!
 |
| Before: An ugly, plastic, florescent light. |
 |
| After: A pretty light fixture with a brushed nickle finish |
Then, on Saturday my dad and I started peeling off the sticky vinyl
tiles only to discover what we thought were ceramic tiles underneath. Turns
out it was actually two layers of Formica tiles. After talking to some
people with more experience, we decided it would be best to pull them up
and start with the sub-floor.
 |
| The blue layer is the peel-and-stick and the one with the design is the top layer of Formica. You can kind of see the speckled, bottom layer of Formica peeking out. The black is the adhesive on the sub-floor |
 |
| My dad, hard at work. |
 |
| Finally finished! |
It wasn't easy, but I think we made a good choice. The last thing we
want is to do all the work of laying tile only to have problems with it
in a couple of years because we were in a hurry. Better to do it right
the first time!
After getting down to the sub-floor, we needed to lay concrete backer
board. We started that step on Tuesday. First we had to patch the hole where
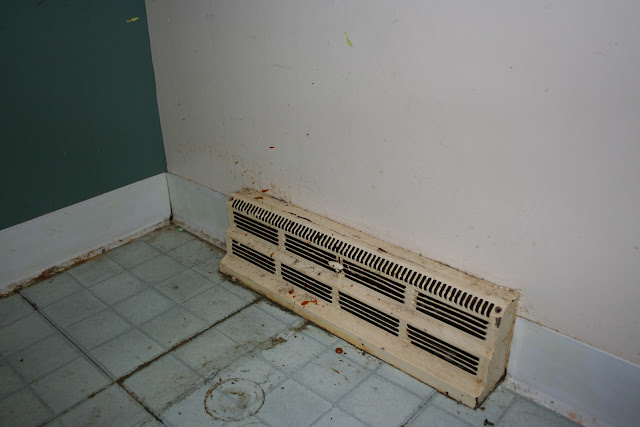
the vent was, then we had to move the water line for the refrigerator. Next, we cut out the backer board and laid it down to make sure it fit
before setting it with thin-set and screwing it down.
I only got to work for about 45 minutes on Tuesday, but my dad decided to plow ahead and work
without me. This is what I came home to when I had a hour between my
kids' gym class and when I had to leave for work. My dad is just
awesome!
 |
| Spreading the thin-set. |
 |
| Laying the backer-board |
Yesterday we laid the tile and tomorrow we will grout it. I am so happy with how it looks! Here is the difference so far:
 |
| Before After |
All this waiting between steps
means I will be without a kitchen for about a week! No easy task, but
well worth it.
 |
| My kitchen stuff is taking over my dining room! |
I did lots of thinking about how to prepare for this
kitchen-less week and here is my to do list to help it go as smoothly as
possible:
A Homemaker's (Not Handyman's ) Guide to Preparing for a Kitchen Floor Project
1) Decide what can be moved. If you are putting down a new floor, big
items like your refrigerator may need to be moved anyway. Can it be
moved somewhere you can still access it (mine is in my dining room)?
Don't forget the small appliances! If you have a toaster oven or crock-pot,
they
greatly increases your cooking options.
2) Plan your menu! Now that you know what tools you will have access
to, you can choose foods that can be prepared outside you kitchen.
Remember to plan for breakfast, lunch, and dinner! Meals like
sandwiches that don't require cooking are great. But the crock-pot and
toaster oven can really increase your choices. You may also want to
make a few things ahead of time that can just be heated up.
 3) Make clean-up easier!
 While you can do dishes in the bathroom sink or tub if needed, it isn't always the best plan. Instead, buy some disposable dishes. Make sure you get plates, bowls, utensils, cups, and napkins. If you plan on using the crock-pot, invest in some crock-pot liners. They really speed up the clean-up process! For the toaster oven, make sure to line your cooking sheet with foil so you can just toss that in the garbage.
4) Don't forget the serving-ware. Think about what types of big spoons, spatulas, and other serving utensils you will need out of the kitchen. Trying to dish out servings of your yummy crock-pot stew with a disposable, plastic spoon won't be fun!
5) Grab the garbage bags. If you keep your garbage bags in the kitchen, make sure to grab them before you begin your project. You'll need a place for all those disposable dishes!
6) Remember your medication. We keep a lot of our medication in a box in our kitchen. This includes vitamins and supplements, but also things like ibuprofen that we may need after all the noise from the project!
7) Focus on the results! With the kitchen taking over the rest of the house and your family eating off paper plates like every day is a picnic, it can be easy to become annoyed or overwhelmed. But, keep reminding yourself of why you are doing this and how great the finished project is going to be!


